
How to Setup Canon PIXMA G1230 Printer? (Windows & Mac)

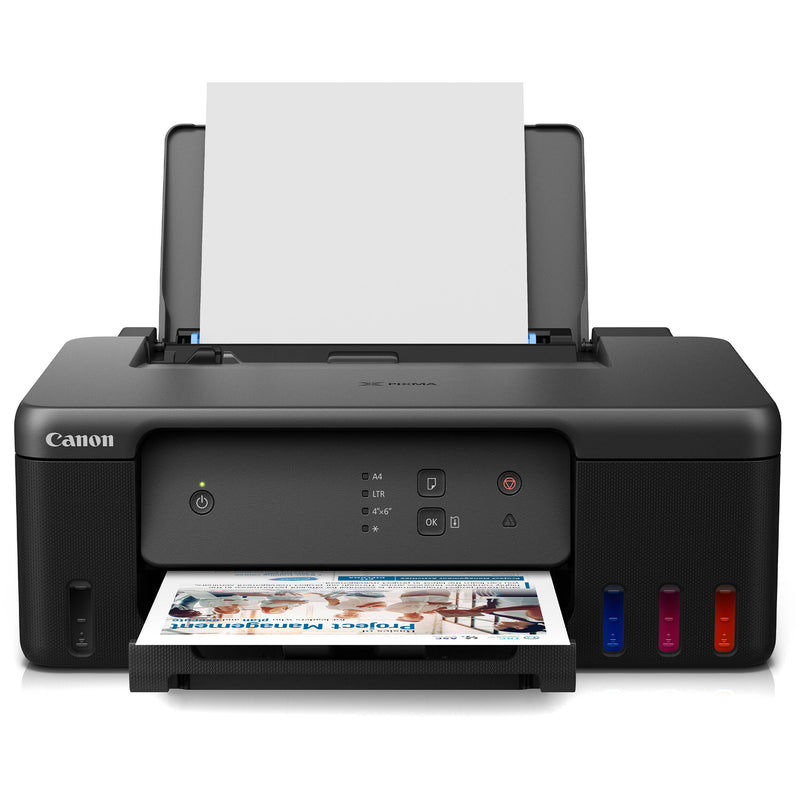
The Canon PIXMA G1230 printer is known for its excellent printing capabilities and convenient features, allowing you to print and scan your documents and photos quickly and easily. However, setting up a new printer can feel like a difficult task, especially if it’s your first time.
If you have a Canon PIXMA printer, this guide will help you make the process smoother. You will find that while it may seem complicated at first, setting up your printer is actually quite simple and can often be done in under an hour. With a few simple steps, you will be ready to start printing in no time.
In this blog post, we will guide you through the setup process step by step, which will make sure you can get your Canon PIXMA Printer up and running without any hassle. Let’s dive in and discover how to get the best from your new printer.
Preparing Canon PIXMA G1230 Printer Before Setup
In order to prepare a printer before setup, you will need to make sure of the following points.
- Lay the printer on a flat surface, e.g., a table.
- Remove the plastic tape or any packaging materials from the printer.
- Now, open the trays and install the ink cartridges.
- You have to fill the ink tanks.
- After that, load the paper right into the tray.
- Next, you will need to plug the power cable into the wall outlet.
- Connect the USB cable only when prompted during the software installation.
Once you have carefully ensured the above points, you are ready to setup your printer for your preferred device, Mac or Windows computer.
How to Setup Canon PIXMA G1230 Printer on Windows?
Below, we will show you "How to setup your canon printer on the Windows" computer using a USB cable. The process is simple and requires you to download the setup file for your PC. Let’s look into the steps given below:
- Turn on the PC and go to the browser.
- On the browser, navigate to ij.start.canon to download your setup file.
- Once the download is finished, you have to open the file and provide the requisite permissions.
- Select the language and click on OK.
- Then, provide the necessary information by following the instructions on the screen.
- On the “Setting Up New Printer” screen, you need to hit the Start Setup button.
- Now, the installer will confirm the latest details regarding your printer.
- Go through the license agreement and accept it by clicking the Yes button.
- After that, hit the Agree button.
- After some time, you will see the following message on your screen. Hit the Next button.
- Wait, as the installer will start looking for the printer.
- In the next step, you will have to choose the connection method.
- Choose a USB connection (USB Cable) and click on the Next button.
- Grab your USB cable and insert it into the right ports.
- After that, the installer page will start downloading your printer driver. Be patient, as it may take several minutes.
- Let the setup process end on its own, and when prompted, hit the Next button.
- In the end, you will need to visit the website as prompted.
How to Setup Canon PIXMA G1230 Printer on MacBook?
The following steps are described for MacBook users who want to setup their printer using the USB cable. The process is simple, and you can set it up in a few minutes. Let’s get started!
- Turn on the Mac and open the browser.
- Then, get the setup file from ij.start.canon.
- Once the setup file is downloaded, double-click the icon–Master Setup.
- Type in the user credentials and click on Install Helper.
- After that, hit the Start Setup button appearing on the screen.
- Now, the installer will verify the latest information related to your printer.
- Accept the license agreement and proceed.
- After a few steps, you will see the “Check Power” window; just click on Next and move ahead.
- Here, your device will detect the printer.
- Select the appropriate printer connection method shown on the screen.
- Add your printer to a Mac system with a USB cable.
- Wait for the installer to download the printer driver.
- When the “Print Head Alignment Recommended” window appears, hit the Next button.
- Once the connection is done, click on the Go to Website button to get started.
Frequently Asked Questions
Question
How to download Canon printer driver on Windows?
To download a printer driver on Windows, follow the steps given below:
- Go to the
Canon support website: ij.start.canon.
- In the
search box, type in your printer model and press Enter.
- Then,
select your printer from the list of results.
- Choose
your OS from the menu.
- Locate
the driver section on the printer’s page.
- Click on
the recommended driver or software link.
- After
that, click the “Download”
button.
- Once the
file downloads, open it to start the installation.
- Perform
the steps displayed on your screen to complete the installation.
Question
How to connect Canon printer using Bluetooth?
To connect a printer using Bluetooth, go through the steps given below:
- Turn on
the printer and enable Bluetooth in the printer settings.
- On your
computer or mobile device, go to Bluetooth
settings and turn on Bluetooth.
- Search
for available devices. Your printer should appear in the list of devices.
- Select the printer and pair it. You may need to enter a PIN, usually found in the printer manual.
- Once connected, install the necessary printer driver if prompted.
Question
How to setup Canon PIXMA G1230 printer wirelessly?
In order to setup your printer wirelessly, follow the steps given below:
- First, go
to the printer’s setup menu.
- Then,
select the Wireless LAN.
- After
that, choose the router or network.
- Enter
your password and click on End
Setup.
- Once the
light stops flashing blue and turns solid, your printer is connected.
- Finally,
your printer is setup.
Enter your Comments Here: